When you want to try a fun manicure at home, a classic retro pattern is always a great choice for your weekly routine. Polka dots bring an instant charm to your hands without requiring hours of complicated nail art skills.
The main benefit of this playful style is how easily it adapts to different colors and lengths. You can create a neat, polished look that feels cheerful and bright every single day.
Choosing between a deep plum wine base and a bright cherry red drastically changes the final result. Darker shades offer a cozy holiday vibe, while brighter tones keep things light and casual.
This versatile design can easily suit your personal preferences, whether you prefer short natural nails or longer gel extensions. It works wonderfully for everyday wear or festive winter celebrations.
To help you find the right look for your next manicure day, let us walk through a few simple ways to style these cheerful dots nails.
#1 Minimalist Red Dot Accents On French Tips
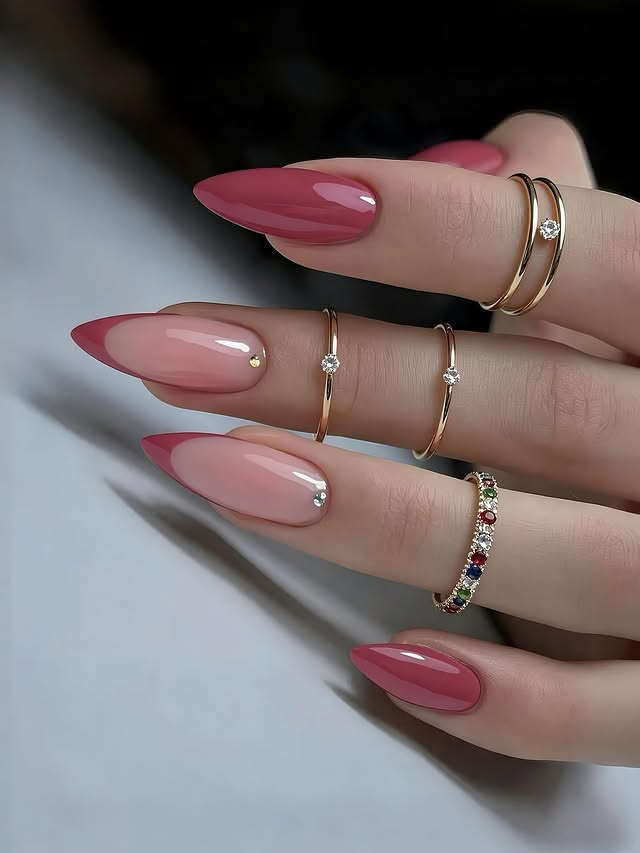
Adding a tiny dot to the base of a French manicure is an easy way to update a classic style. This approach keeps the overall look clean while adding a fun detail near the cuticle. It works well on both natural nails and extensions, giving you a fresh twist without extra fuss.
When trying this at home, use the rounded end of a bobby pin or a toothpick to place the dot accurately. Dip your tool lightly into the red polish and press down gently on a dry base coat. Seal everything with a topcoat to prevent chipping and keep your dots looking neat for days.
#2 Stiletto Red Polka Dot Nails For Bold Style
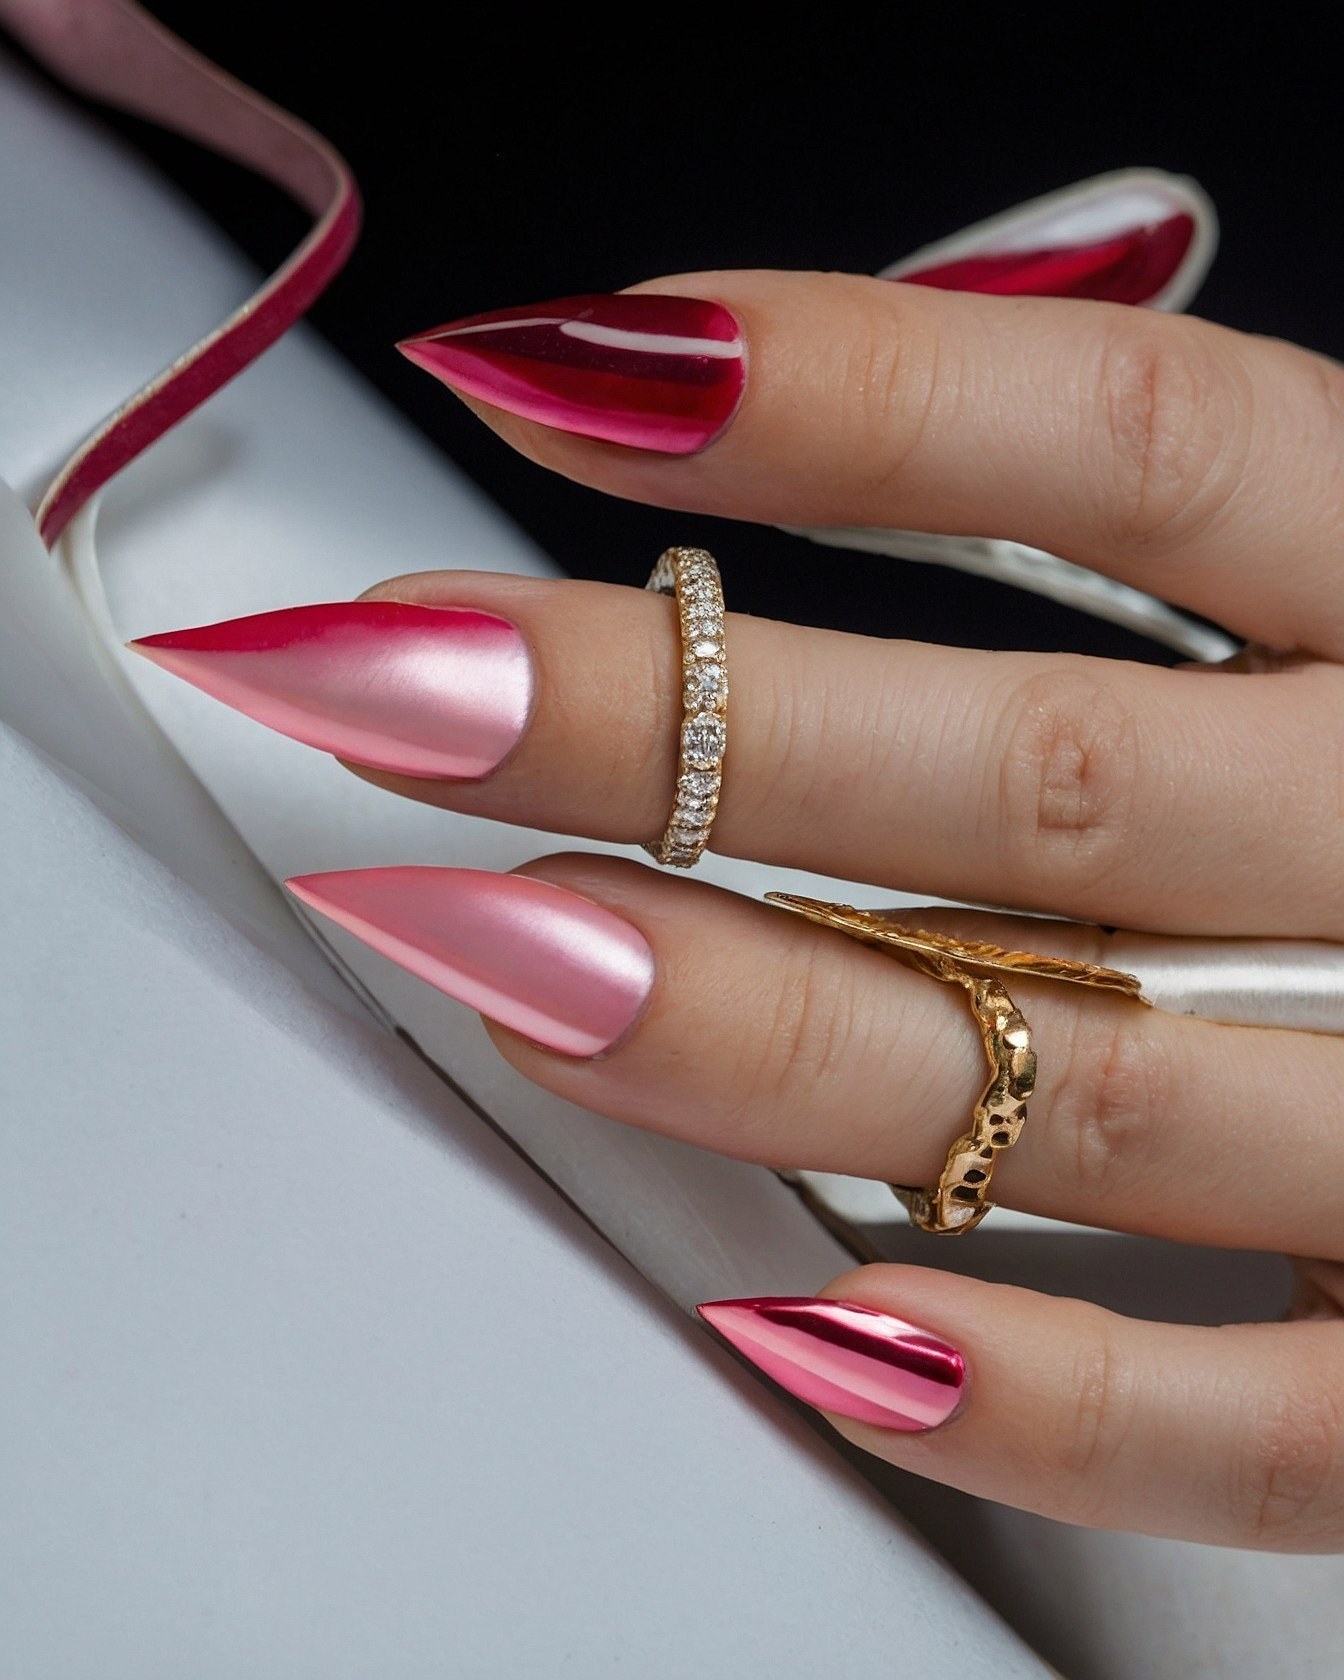
Choosing a sharp stiletto shape brings instant drama to simple nail art. When you pair pointed tips with small red dots, the shape balances out the playful pattern. The long lines make fingers appear slender, while the sharp angle keeps the polka dots from looking too childish.
This approach works well for anyone wanting a statement manicure that still feels intentional and neat. You can wear them to special events or parties where you want your hands to stand out. Keep the base neutral so the dots and the dramatic shape get all the attention.
#3 Choosing Between Solid Polish And Glitter Polka Dots
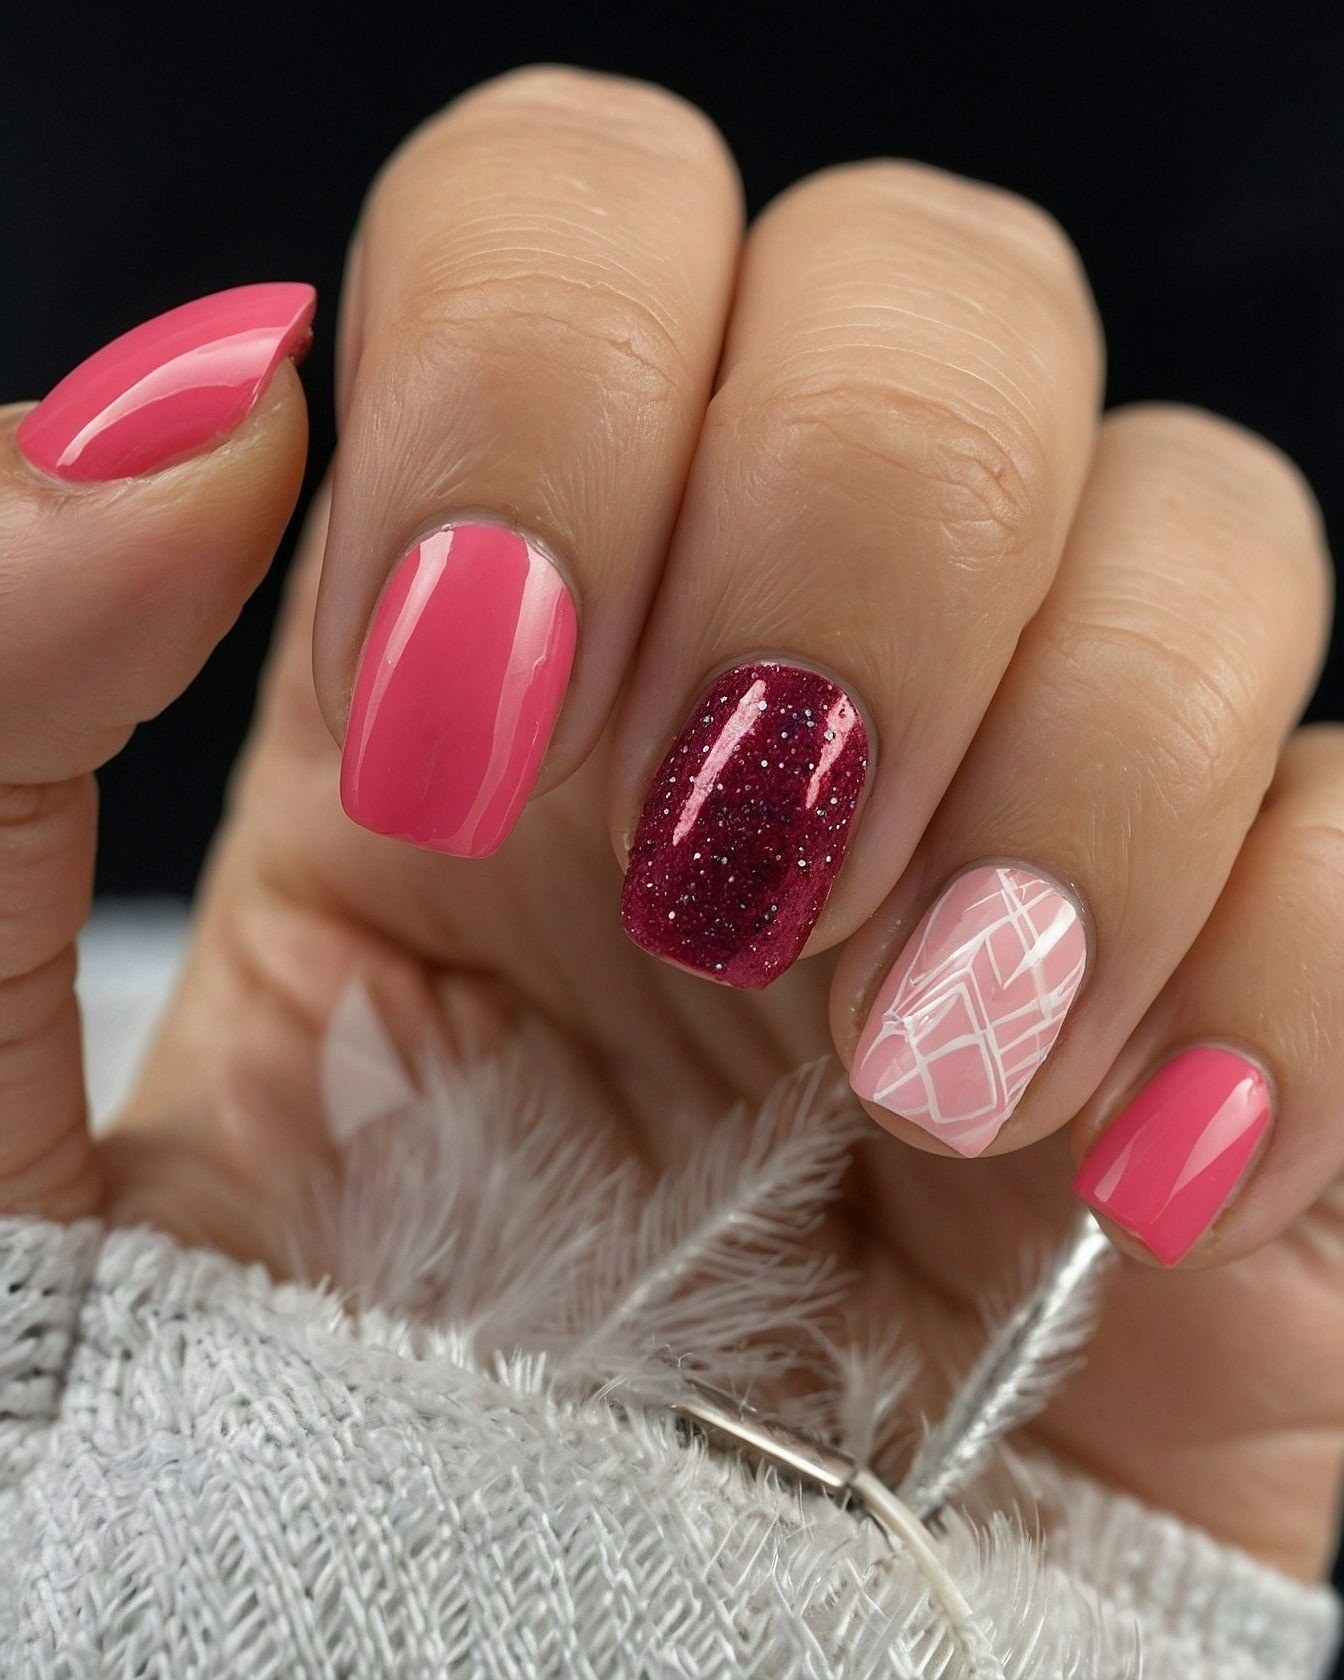
Deciding how to balance solid pink polish with glittery red dot details comes down to personal taste and the occasion. Solid shades offer a clean and polished background, while textured dots add a fun focal point without overwhelming your hands. Think about your weekly schedule and pick a layout that matches both casual days out and more formal office settings.
If you want to try this at home on a budget, you can mix standard cream polishes with a dense glitter bottle you already own. Start by painting most fingers in a bright pink base, then reserve one or two nails for creative dotting. Use a simple bobby pin dipped in polish to stamp neat circles onto the surface for a clean result.
#4 Keeping Short Polka Dot Nails Chip Free
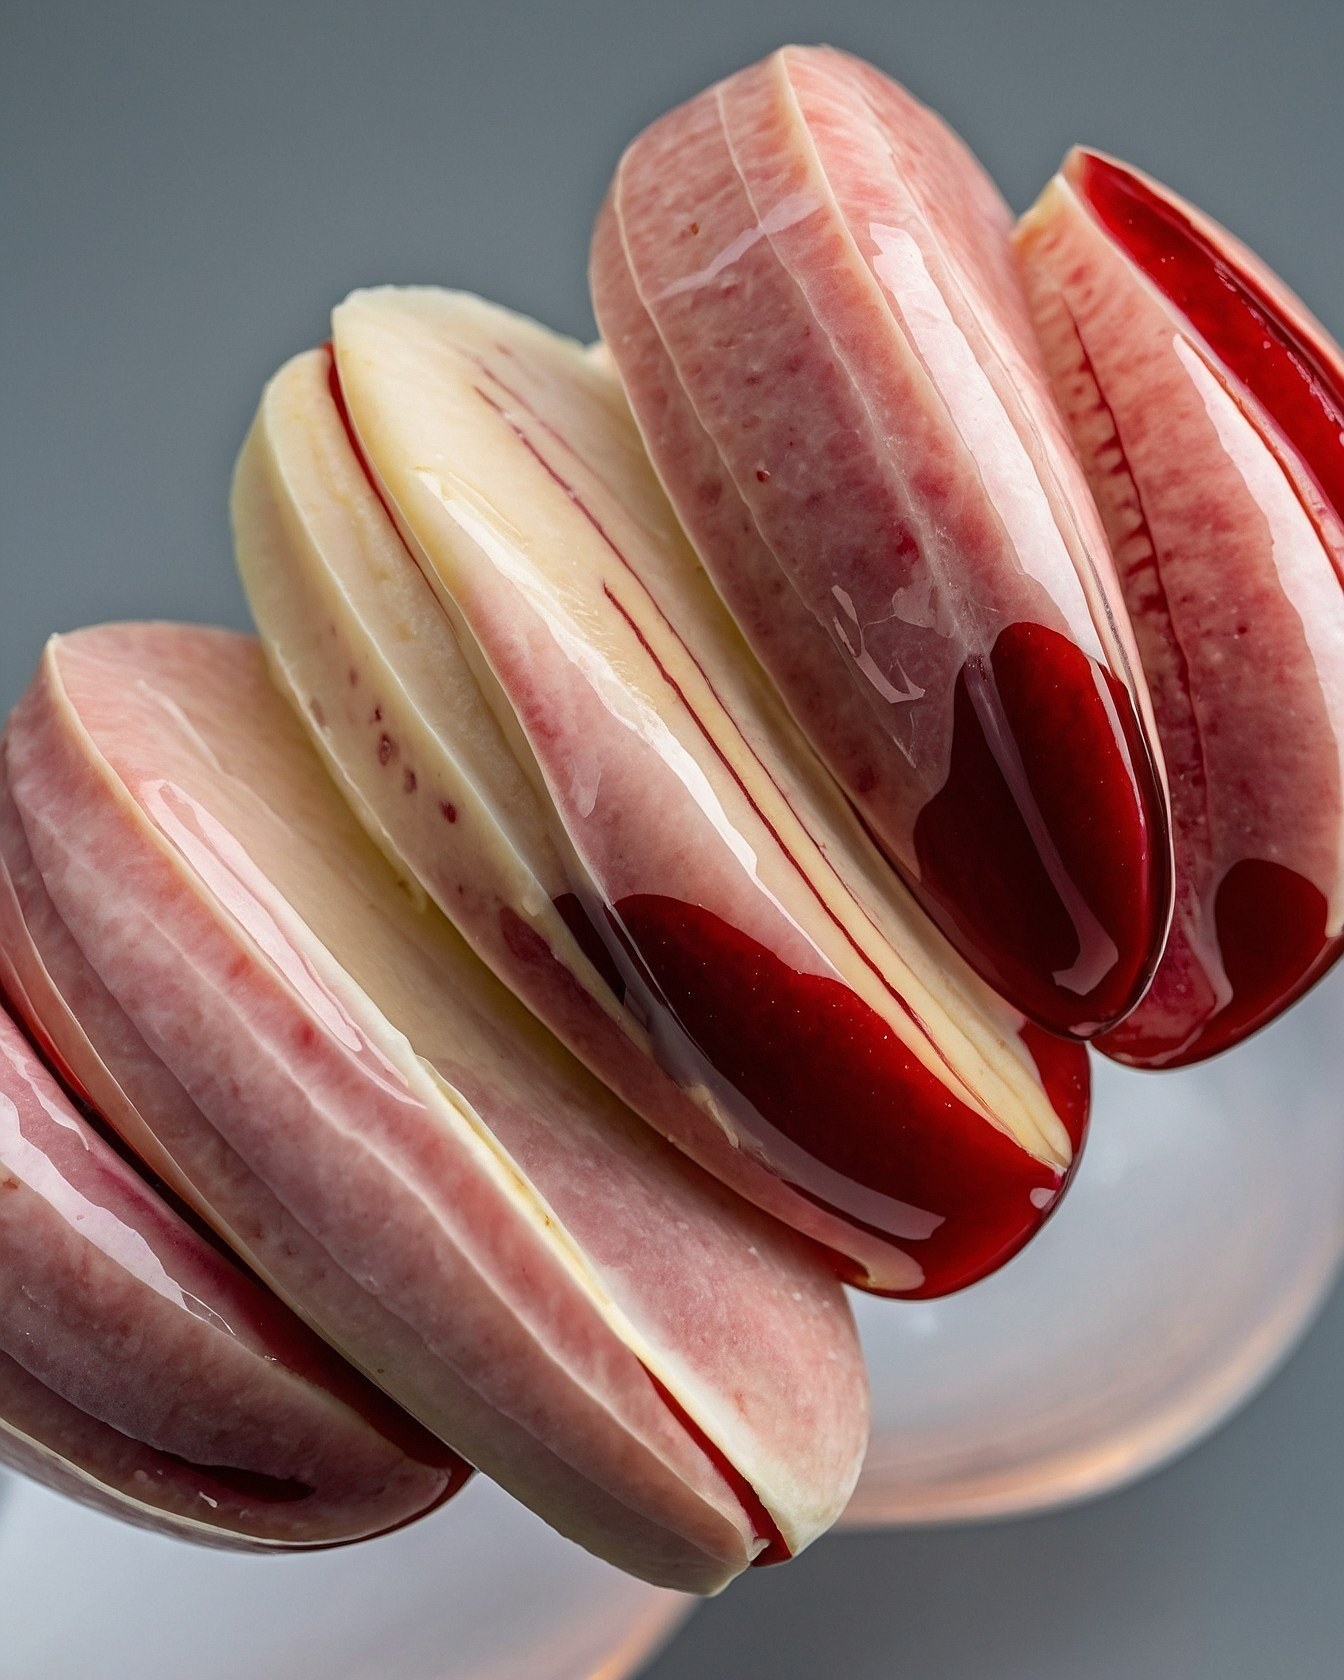
When you wear short nails with red polka dot details, sealing your manicure properly makes a big difference. Applying a thick top coat over the dried dots protects the painted surface from daily wear and tear. Make sure to cap the free edge of each nail to stop water from getting underneath.
To keep your manicure looking fresh, wear rubber gloves while doing heavy chores or washing dishes. Harsh cleaning products can dull the shine of your top coat and cause the polka dots to chip early. Reapplying a clear top coat every few days helps extend the life of your nail art.
#5 Adding Tiny Red Polka Dots To A Nude Manicure
If you want a simple nail design that still feels fun, try adding tiny red dots to a soft nude base. This setup gives you a clean look with just a hint of color, making it a great choice if you prefer subtle nail art over loud patterns.
You can also switch things up by placing the dots near the base of each nail instead of the center. This slight change helps the manicure look neat as your nails grow out, saving you time between touch ups.