At its simplest, a manicure is a great way to update your look without spending a fortune. Swapping out standard colors for a moody dark line brings a fun twist to everyday outfits.
People choose this modern style because it blends neat minimalism with a slightly edgy vibe. It feels special enough for parties while staying practical for day-to-day tasks.
Getting the look right usually comes down to keeping the base clean and the tips very crisp. A glossy topcoat pulls the entire design together so it looks polished and tidy.
The best part is that you can easily change the shape or length to fit your hands. Shorter lengths keep things very manageable, while almond shapes add a graceful touch.
Let us dive right into the first look and see how simple this trend is to wear.
#1 Clean Almond Shaped Nails with Minimal Black Tips
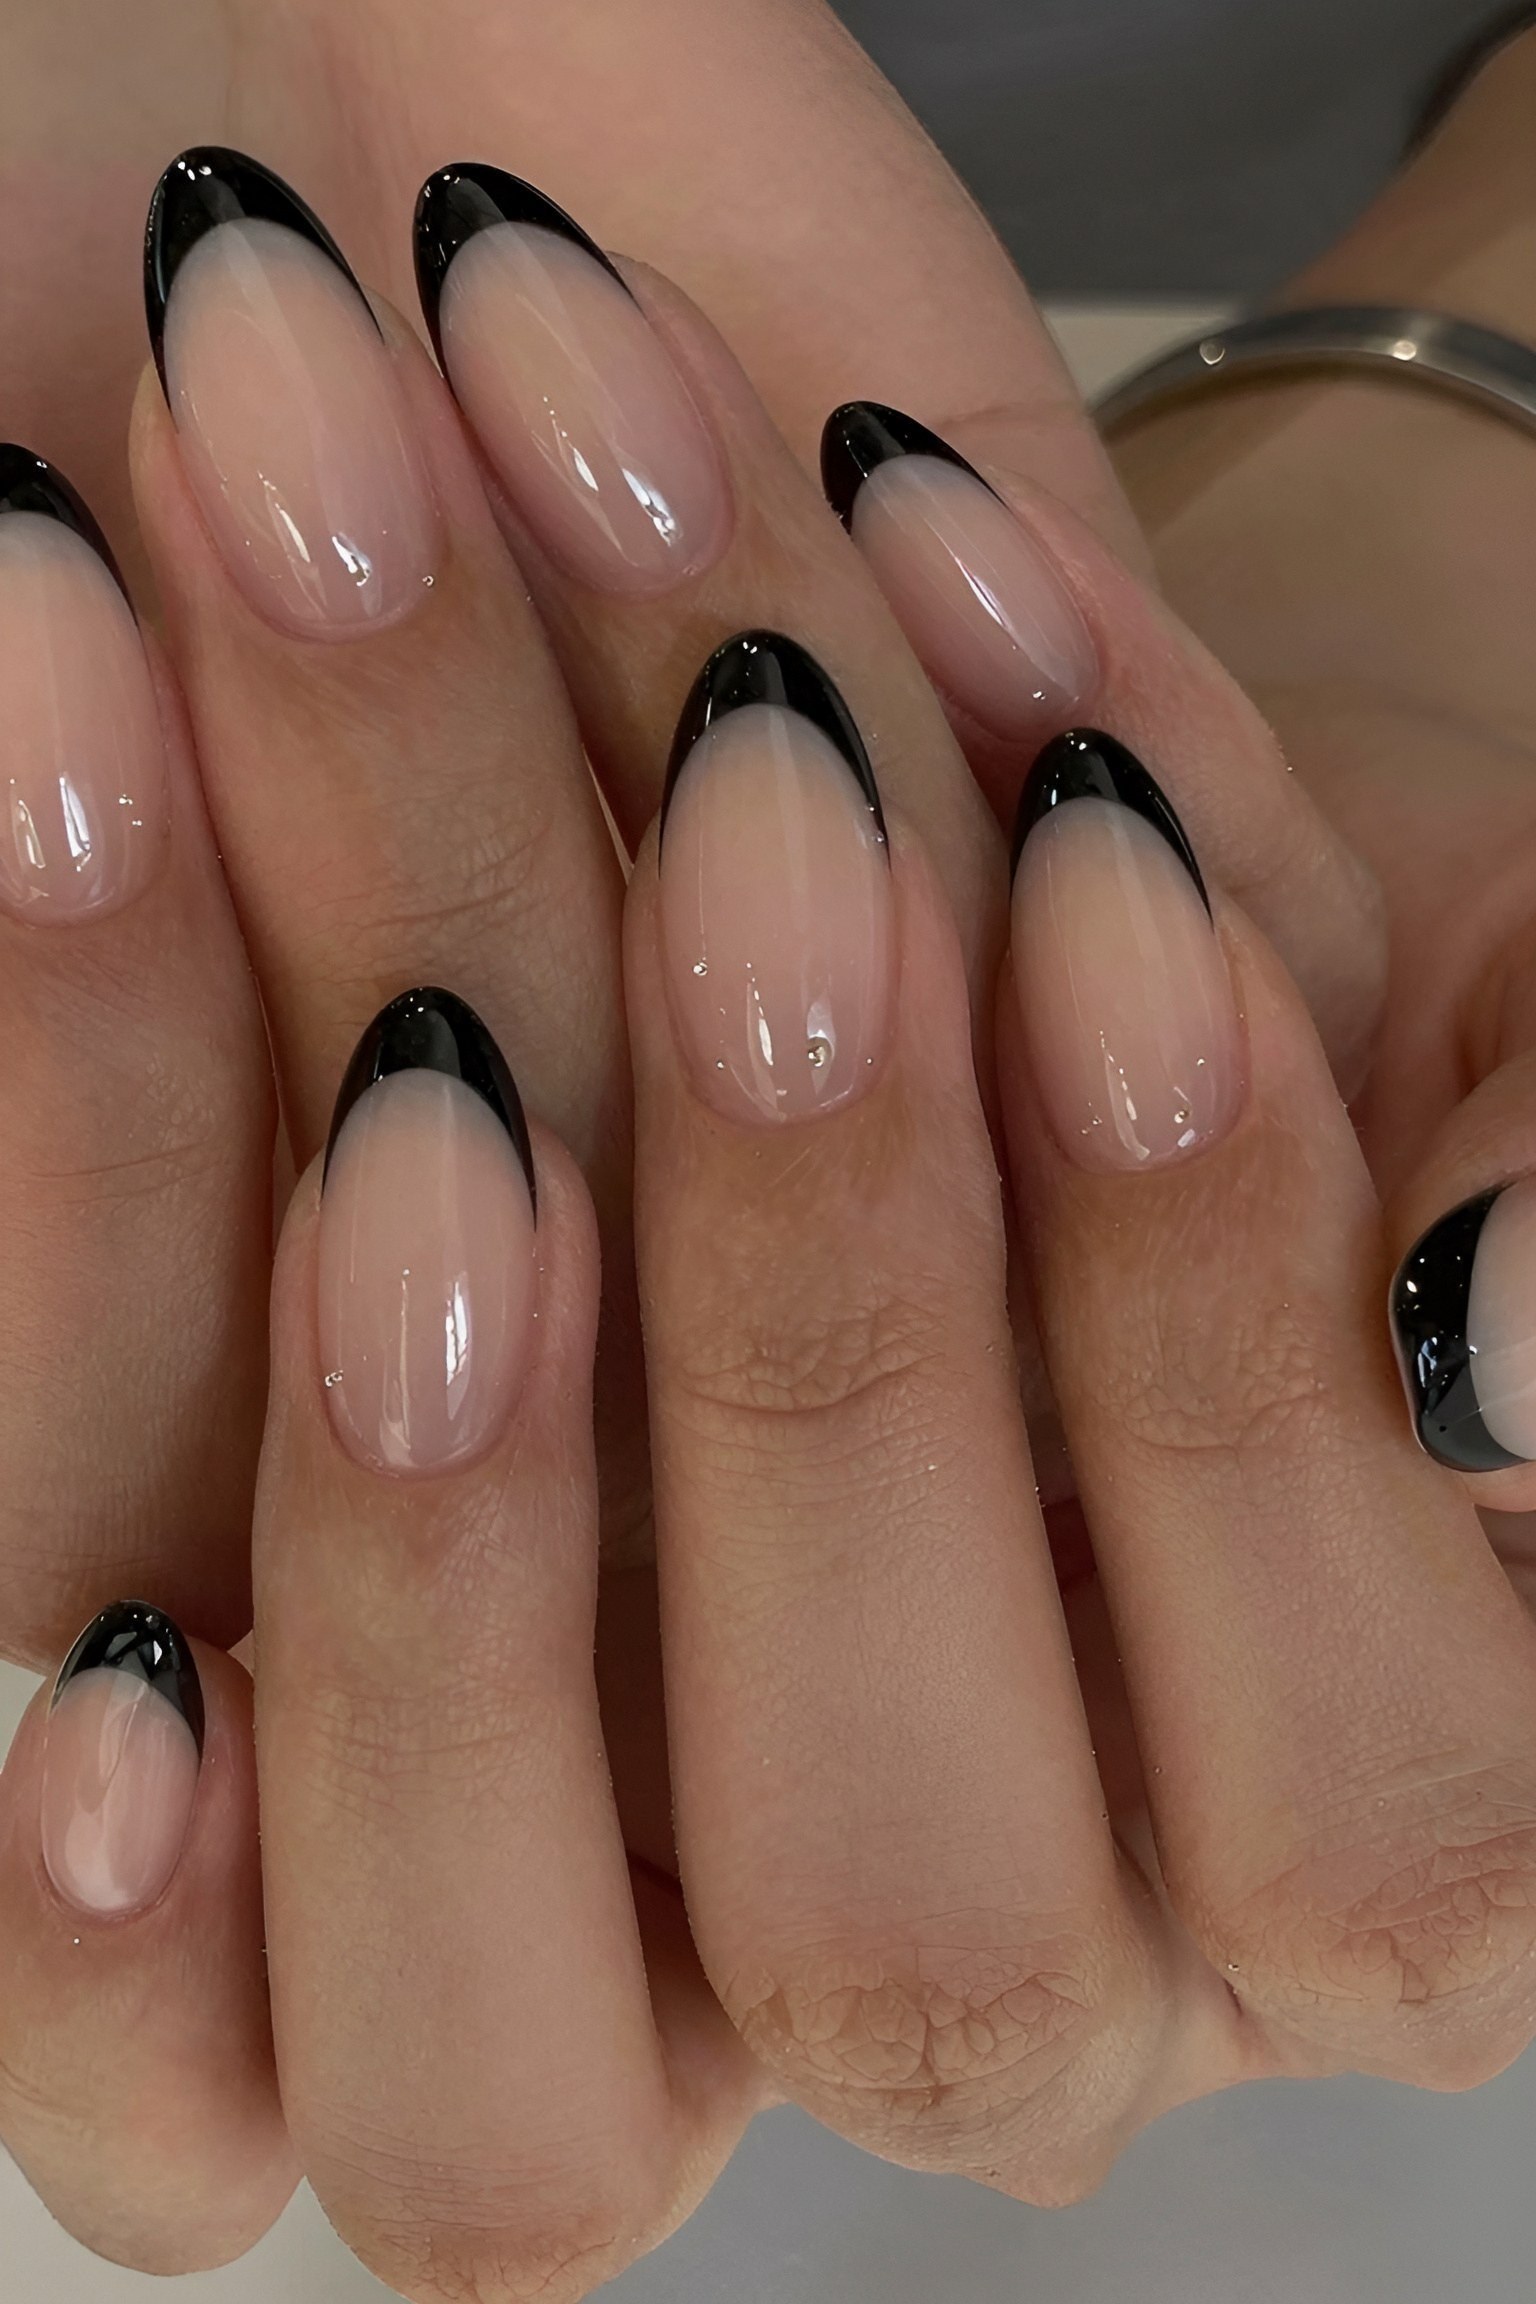
Almond shaped nails offer a graceful contour that naturally elongates your fingers. Pairing this shape with a thin line of black polish along the tip creates a modern twist on a standard manicure. The neutral base keeps the overall style subtle, while the dark edge adds a sharp, clean contrast that works for any day of the week.
When shaping your nails at home, file the sides evenly toward the center to build a smooth, rounded point. If you struggle to paint steady lines freehand, try using small striping brushes or adhesive guides. Seal the finished tips with a glossy top coat to protect the edges from chipping and keep the black polish looking bold.
#2 Adding Accent Nails to Black French Tips
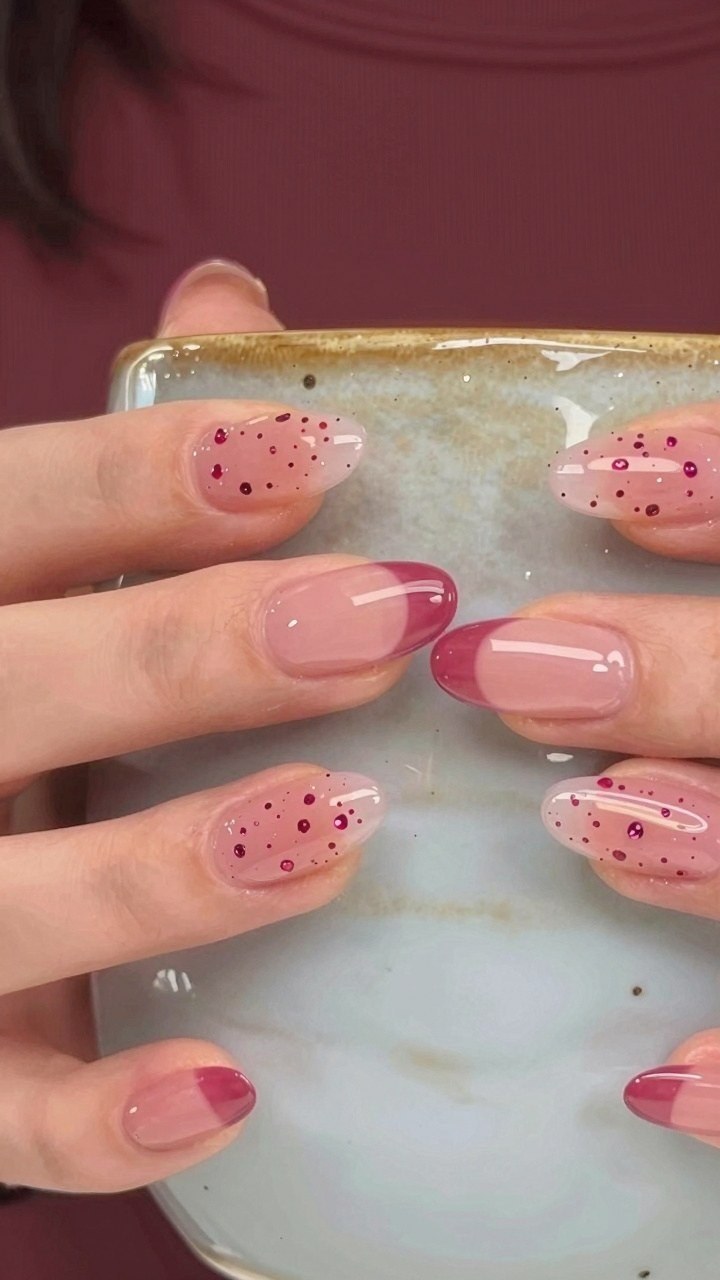
Mixing a solid tip with a textured or dotted accent finger keeps traditional manicures interesting. This method works well because it breaks up repetitive patterns without losing the core design style. You get the neat structure of a colored tip alongside a playful, textured element on select fingers.
This approach suits anyone who enjoys creative manicures but wants to keep them wearable for daily routines. It works nicely for social events or casual weekends when you want a fun detail on your hands. You can expect a balanced style that feels distinct without being too busy.
#3 Choosing Rhinestone Borders for Dark French Tips
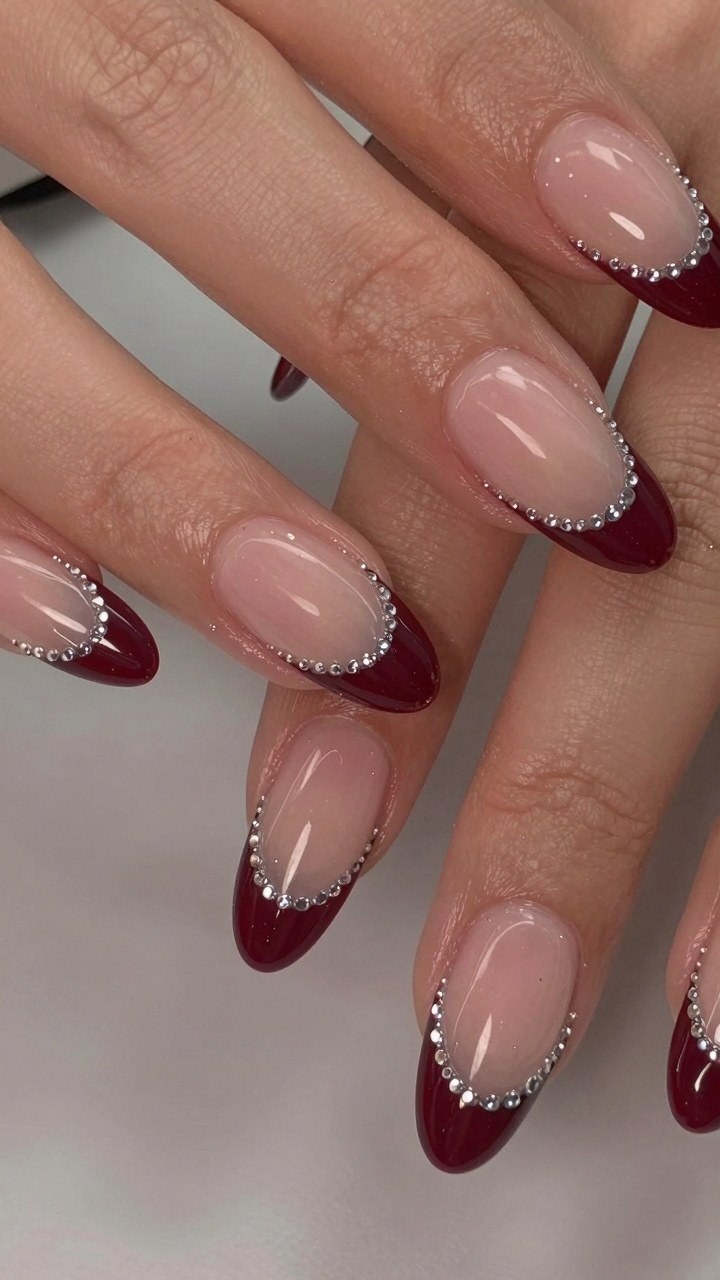
When you want extra sparkle on a dark French manicure, decide whether to line every tip or just a few fingers. Placing tiny rhinestones right along the curve where the dark polish meets the nude base creates a bold, defined boundary. This method works well if you want jewelry-like detail without adding bulky charms that might snag on sweaters or hair.
If you are doing your nails at home, try using a wax pencil to pick up tiny flat-back crystals and a dotting tool dipped in clear top coat to place them securely. For a subtle look, stick to silver beads on just your ring fingers. If you prefer high-intensity glam, line all ten fingers with alternating crystal sizes to make the curved tips really pop.
#4 Applying Tiny Studs to Dark French Tips Safely
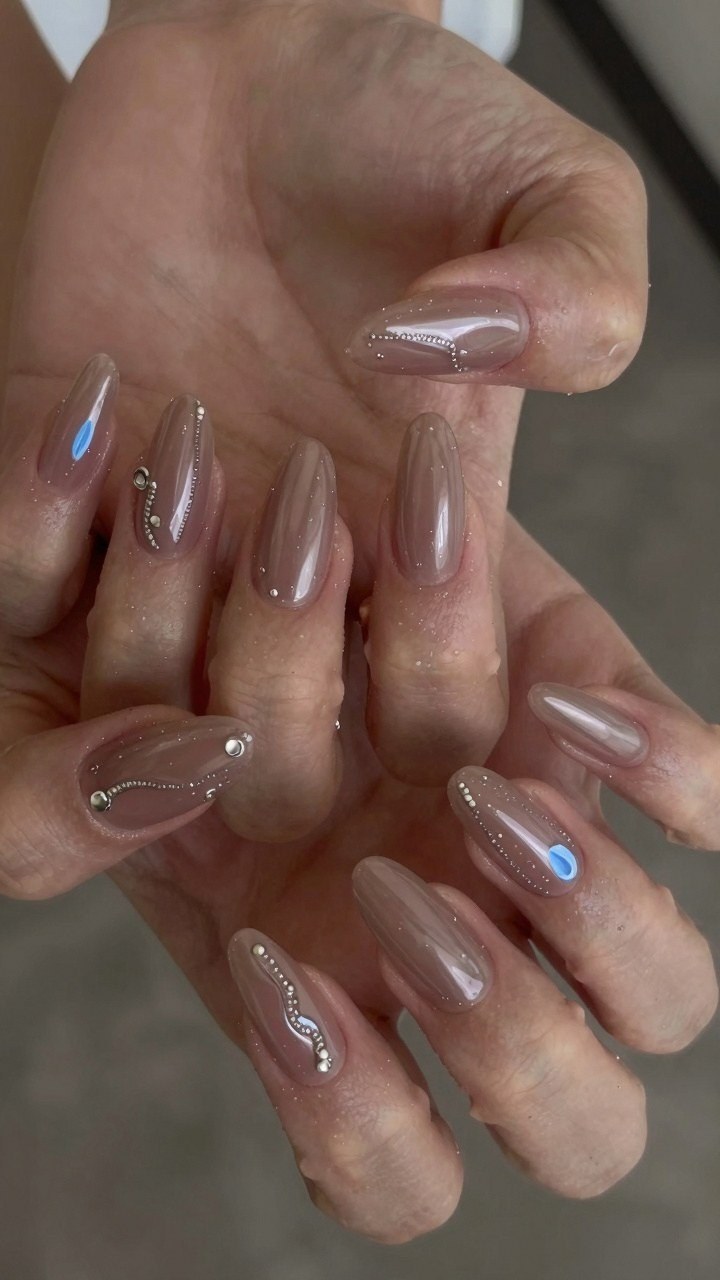
Placing tiny metal studs along the smile line helps secure your manicure and prevents chipping at the edges. When you use a tiny dot of nail glue under each bead, the decorations stay put through daily chores. Press each stud down gently with a wax picker tool so it sits flat in the wet topcoat.
Always seal your beaded manicure with a thick layer of rubber base gel before adding shiny topcoat. This extra step locks the studs in place and keeps the edges from catching on sweaters or hair. If a bead pops off later, clean the spot with rubbing alcohol and glue a fresh one right back down.
#5 Adding Playful Polka Dots to Dark French Tip Nails
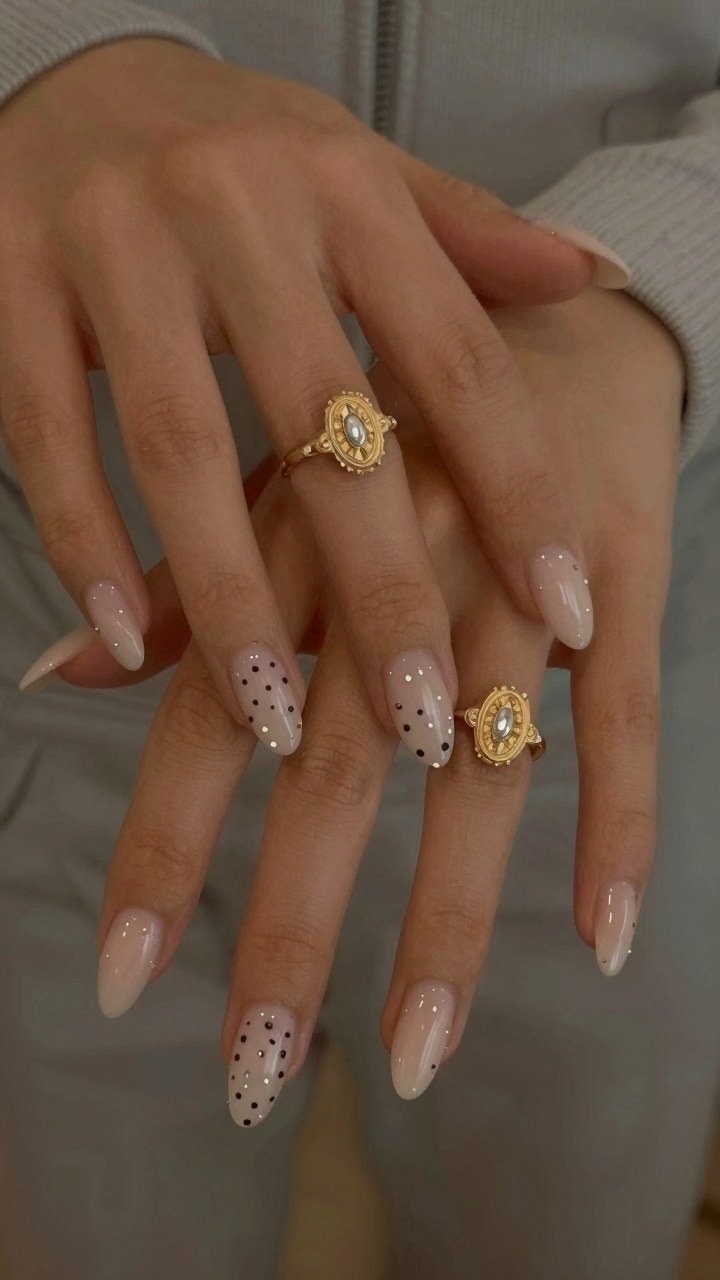
I suggest trying out tiny black polka dots if you want a fun update on standard tips. This design keeps the neat structure of a classic manicure while adding a playful pattern. It works well because the dots break up plain space without making your hands look too busy.
If dots feel a bit too bold for your schedule, you can simply add them to just one feature finger on each hand. Use a small dotting tool dipped in dark polish for clean results, and seal the design with a shiny top coat so it lasts longer.